

Pick an integration path
Hosted mode
Send users to a URL. No backend code required.
iframe (Initialize API)
Call Widget Initialize from your server, embed the returned URL in an iframe.
For operators using the full browser portal, see No code options.
Hosted mode
Open the widget with yourapp_id:
{org_app_id} with the value from onboarding. Works on desktop and mobile. You can open it in a new tab, a webview, or an iframe.
Pre-filling parameters
To pre-fill buy or sell parameters before the user lands on the widget, use the Widget Initialize API. Supported parameters are listed in the API reference.iframe integration (Initialize API)
Use this when each session needs server-side context: buy or sell flow, amounts, asset, network. Your API secret never goes in frontend code.1
Call Widget Initialize from your backend
Send an authenticated request to Widget Initialize with a buy or sell body. The response includes
data.widget_link, a URL ready to load in an iframe.2
Return the link to your frontend
Pass only
widget_link to the client. Keep signing and auth on the server. See Authentication for request headers.3
Load the widget in an iframe
Set
src on your iframe to widget_link. The widget loads with your branding and runs the flow end to end.iframe example
Use
allow="camera; microphone" when KYC includes selfie or document capture inside the widget.Branding
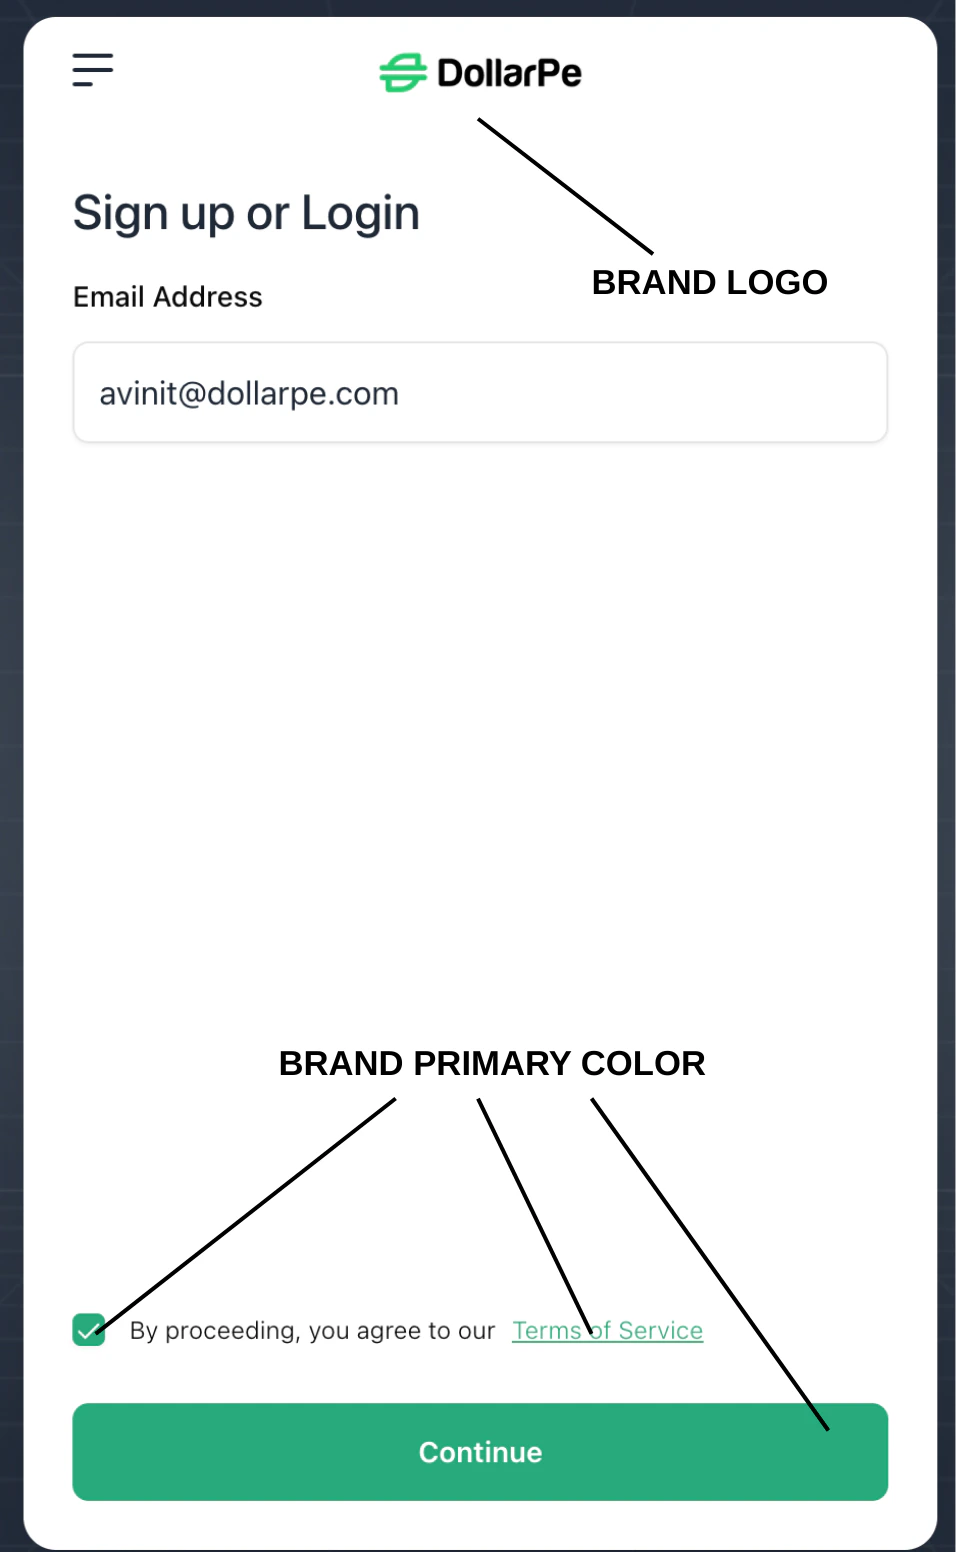
Branding is set for your organization during onboarding. To update your logo, colors, or email styling after launch, contact support@dollarpe.xyz.
Branding is tied to your
app_id. Both hosted mode and iframe sessions show the same white label settings.