> ## Documentation Index
> Fetch the complete documentation index at: https://docs.dollarpe.xyz/llms.txt
> Use this file to discover all available pages before exploring further.
# No code options
> Go live without backend integration using the Client Dashboard or Widget hosted mode.
Two paths that need no backend integration. Pick based on who takes the action: your team or your users.
A hosted portal for operators. Manage customers, review KYC, and run transactions without writing any code.
A branded widget your users open from a link or redirect. No iframe or server code needed.
## Client Dashboard
Hosted at **dashboard.dollarpe.xyz**. Use it to manage customers from onboarding through KYC, payins, and payouts. No installation or backend integration required.
## Widget hosted mode
Send users to the widget with a URL. Works on desktop and mobile without an iframe.
```
https://app.dollarpe.xyz?app_id={org_app_id}
```
Replace `{org_app_id}` with your organization's app ID.
### Customization
To pre-fill values like transaction side, amount, or asset, use the [Widget Initialize](/api-reference-exchange/endpoint/widget/initialize) API. Supported parameters are listed in the API reference.
### White label
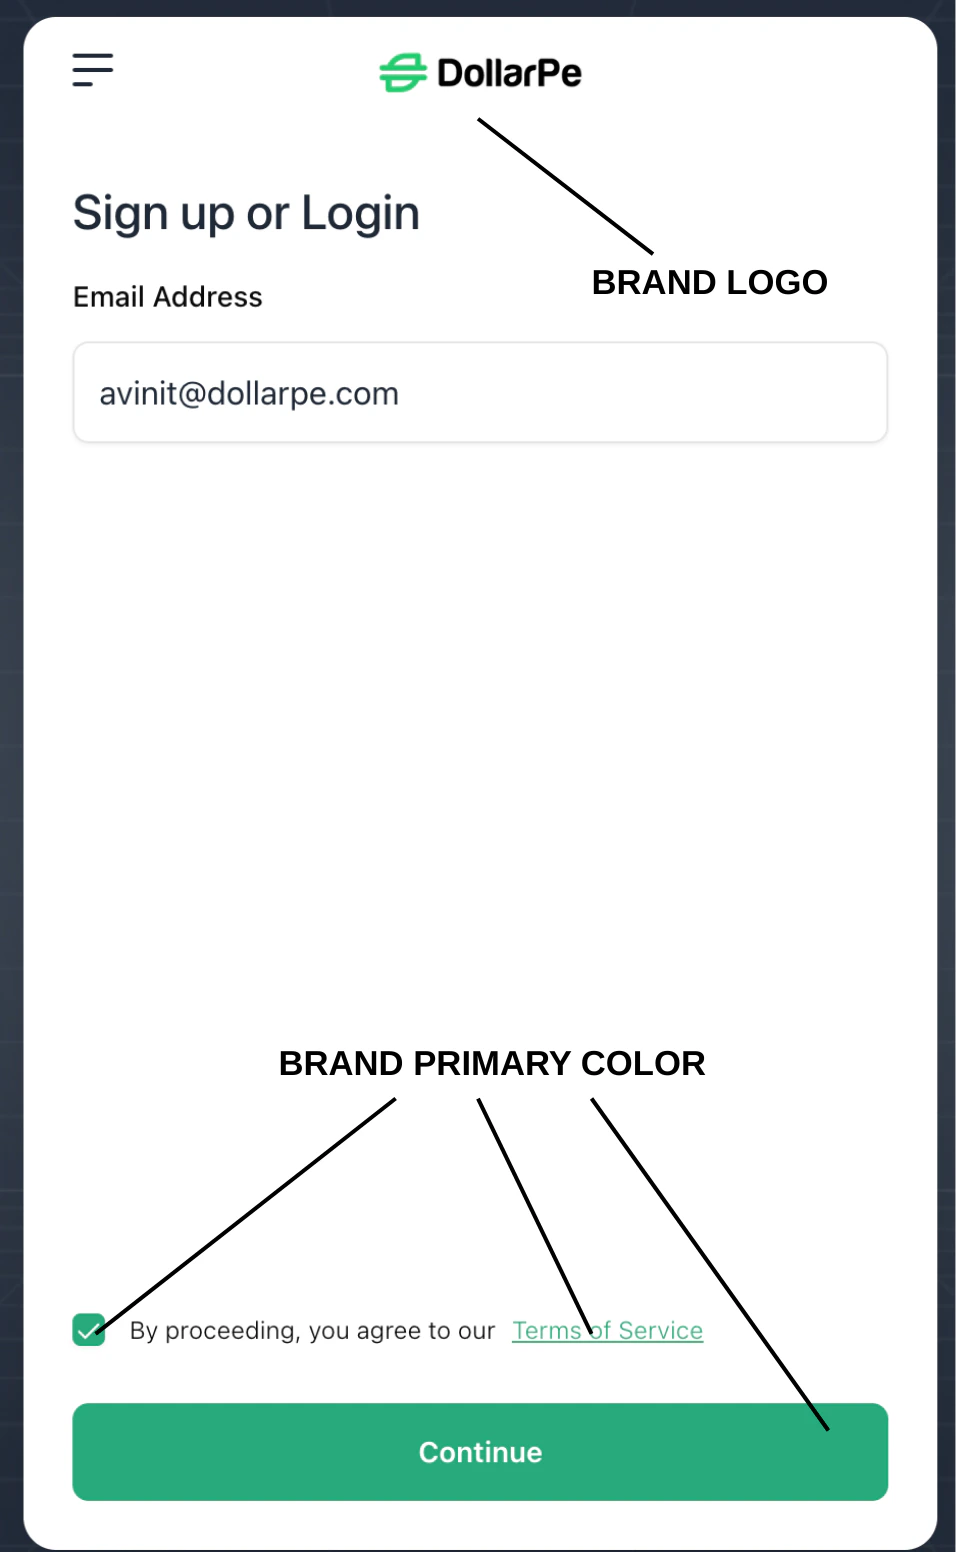
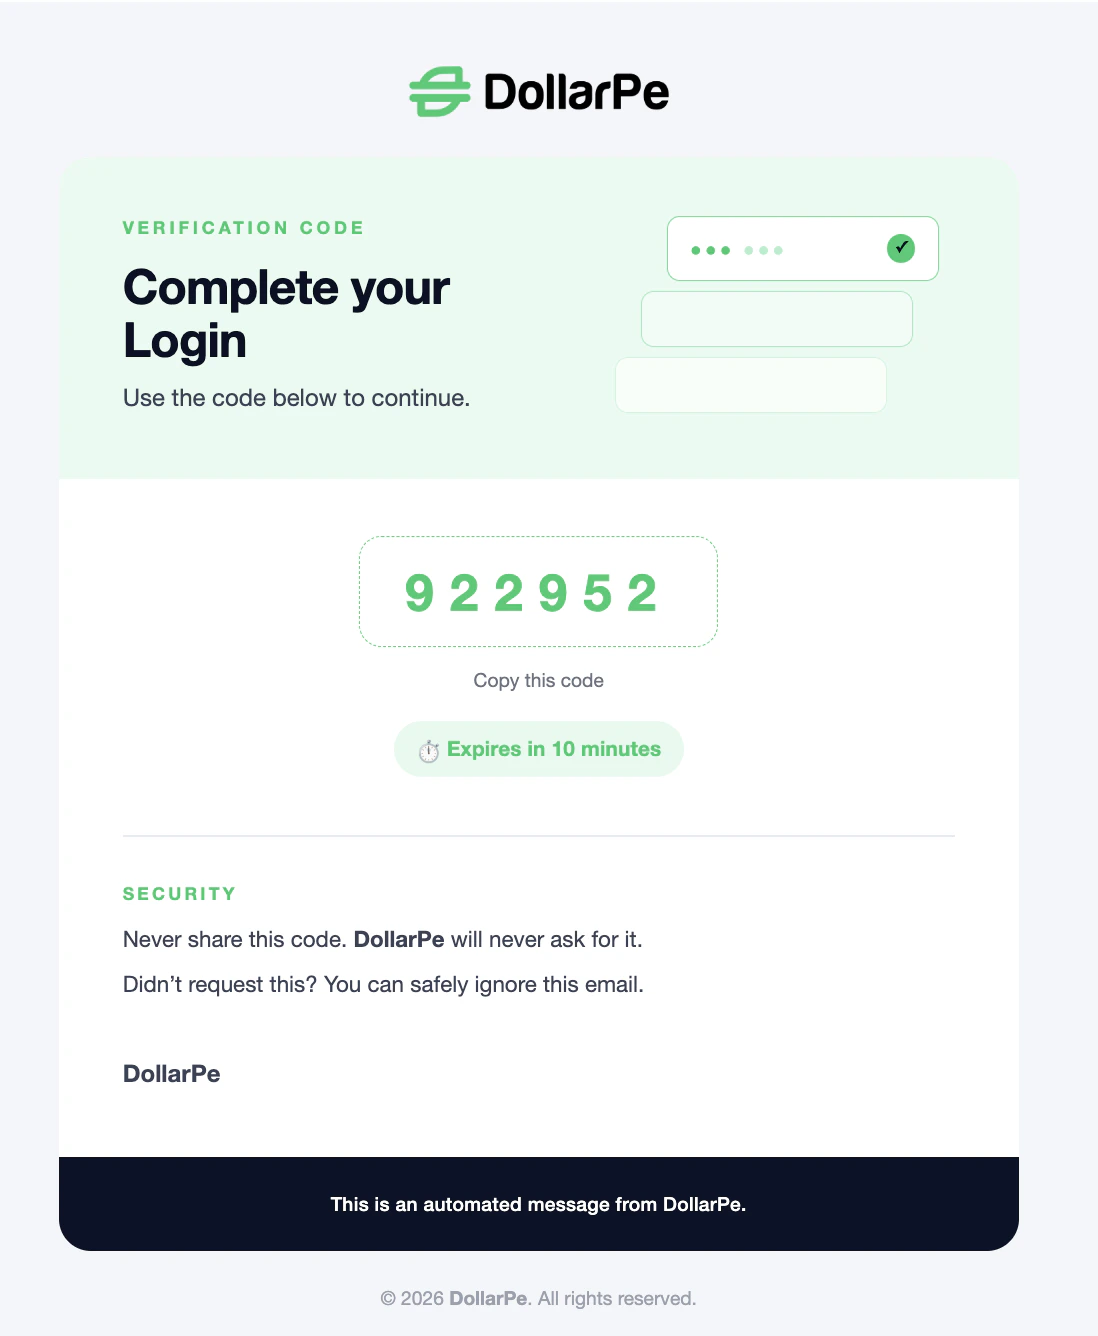
Set your branding in organization settings once. Any session opened with your `app_id` picks it up automatically: logo, primary and secondary colors, and email templates.
 To pre-fill buy or sell parameters, use the [Widget Initialize](/api-reference-exchange/endpoint/widget/initialize) API. For iframe embedding, see the [Widget integration](/guides/integration-guides/widget-integration) guide.
## Comparison
| | Client Dashboard | Widget hosted mode |
| ------------- | ------------------------ | --------------------------------------------------- |
| Hosted at | `dashboard.dollarpe.xyz` | `app.dollarpe.xyz` |
| Code required | None | None, unless you want to pre-fill widget parameters |
| Who uses it | Operators | End users |
| Branding | DollarPe dashboard UI | Your logo, colors, and emails |
To pre-fill buy or sell parameters, use the [Widget Initialize](/api-reference-exchange/endpoint/widget/initialize) API. For iframe embedding, see the [Widget integration](/guides/integration-guides/widget-integration) guide.
## Comparison
| | Client Dashboard | Widget hosted mode |
| ------------- | ------------------------ | --------------------------------------------------- |
| Hosted at | `dashboard.dollarpe.xyz` | `app.dollarpe.xyz` |
| Code required | None | None, unless you want to pre-fill widget parameters |
| Who uses it | Operators | End users |
| Branding | DollarPe dashboard UI | Your logo, colors, and emails |